
#
Chat and agents
Your pools reach AI assistants in two ways: files you add to a chat land in your AI Chat pool, and agents query your other pools through the Data Pools MCP server.
#
The AI Chat pool
Every user has an AI Chat pool, created automatically. Files you upload in PHOENIQS Chat for file search land in it, and get the same treatment as any upload: OCR, indexing, a description and metadata.
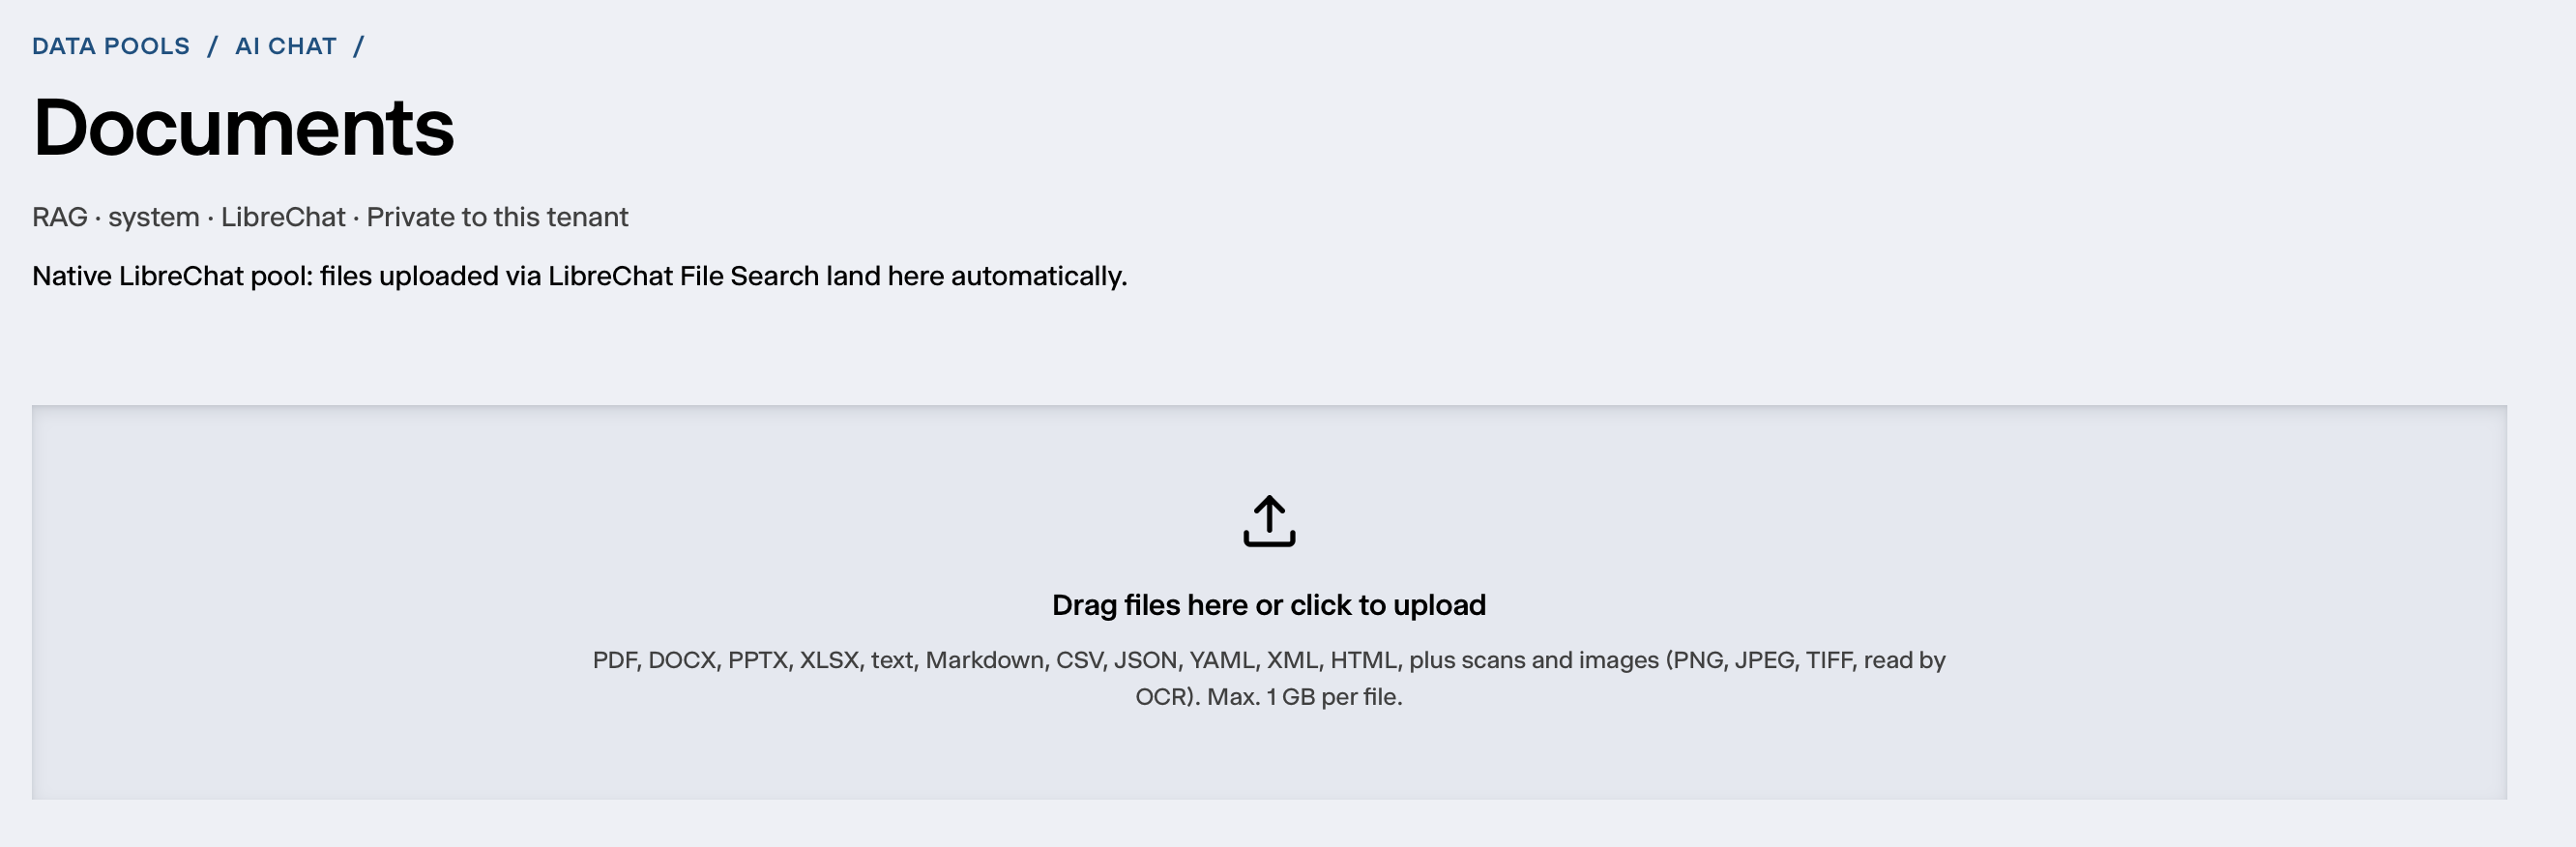
- It is yours alone. Only you see it in Data Pools.
- Chat already uses it. The assistant searches these files through Chat's own file search, so the pool is deliberately never offered to agents through the MCP server. That would give them the same documents twice.
- Files attached to a shared agent stay searchable for everyone who may use that agent, but only through the agent.
- It cannot be deleted or renamed. You can delete individual documents from it.
#
Connecting agents to your pools
Agents connect to Data Pools through one read-only MCP server. MCP Access in the Data Pools menu shows its address, called the MCP endpoint.
On first use, the agent asks you to sign in once with your PHOENIQS account. From then on it sees exactly the pools you can read in Data Pools: your own, those you are a member of, and those open to your organisation. The AI Chat pool is the exception, as described above.
Uploads stay in the app
Through the MCP server, agents can only list, search and read. Creating pools, uploading and deleting happen in the Data Pools app.
#
PHOENIQS Chat
When you provision PHOENIQS Chat, you can connect it to one of your company's Data Pool Dedicated. The chat then gets the Data Pools MCP server, stores its File Search files in Data Pools, and shows a link to Data Pools in its sidebar.
- A chat connects to one Data Pool at most. It is chosen when the chat is provisioned and cannot be changed afterwards.
- One Data Pool can serve several chats.
- While a chat is connected to it, the Data Pool cannot be cancelled.
#
OpenCode
OpenCode on your own computer connects with your own sign-in. Add the server to
your opencode.json, with the MCP endpoint from MCP Access:
{
  "mcp": {
    "datapool": {
      "type": "remote",
      "url": "https://<your Data Pools address>/api/mcp"
    }
  }
}
Then sign in once:
opencode mcp auth datapoolYour browser opens for the PHOENIQS sign-in. There is no client ID or secret to set up.
#
The tools agents get
#
What agents see of a pool
A pool's Details section shows it from the agent's side:
The pool's description is the first thing an agent reads. It is set when you create the pool and cannot be changed in the app afterwards, so write it with agents in mind: what the pool holds, and what questions it can answer.