
#
Build Your First AI Assistant
#
Why build AI assistants?
Conversational chat is a one-shot tool: you ask, it answers, the conversation ends. Useful for one-time questions — but every time the same kind of work comes around, you find yourself re-explaining context, re-attaching files, and re-writing the same instructions.
A custom, pre-built AI assistant — referred to as an agent throughout this guide — fixes this. You create the agent once: its job, its sources, its tools, the model that powers it. From then on the assistant is ready whenever you need it. You can edit and improve it continuously with sharper instructions, a new reference document, or a better output format. The conversation with the assistant can be shared with colleagues who need similar answers.
This is the step from using AI to building with AI.
Beneficial for workflows which are:
- Repeatable — the same kind of task comes back again and again: training programme design, onboarding plans, development paths.
- Consistency-sensitive — running the same brief twice should produce almost the same output.
- Source-heavy — answers depend on internal documents: the job description, knowledge base, RACI matrix, etc.
To make this concrete, let's follow an example:
Meet the "People Development Assistant" — an in-house assistant that designs employee training programmes from a job description, your internal knowledge base, the team RACI matrix, and your onboarding playbook.
It's a common ask from organisations today: turn a job description and the organisation's accumulated knowledge into a structured training programme you can hand to a manager for a review.
#
1. Open the Agent Builder
- Click on Agent Builder in the right sidebar.
- Choose "Create New Agent", or pick an existing agent.
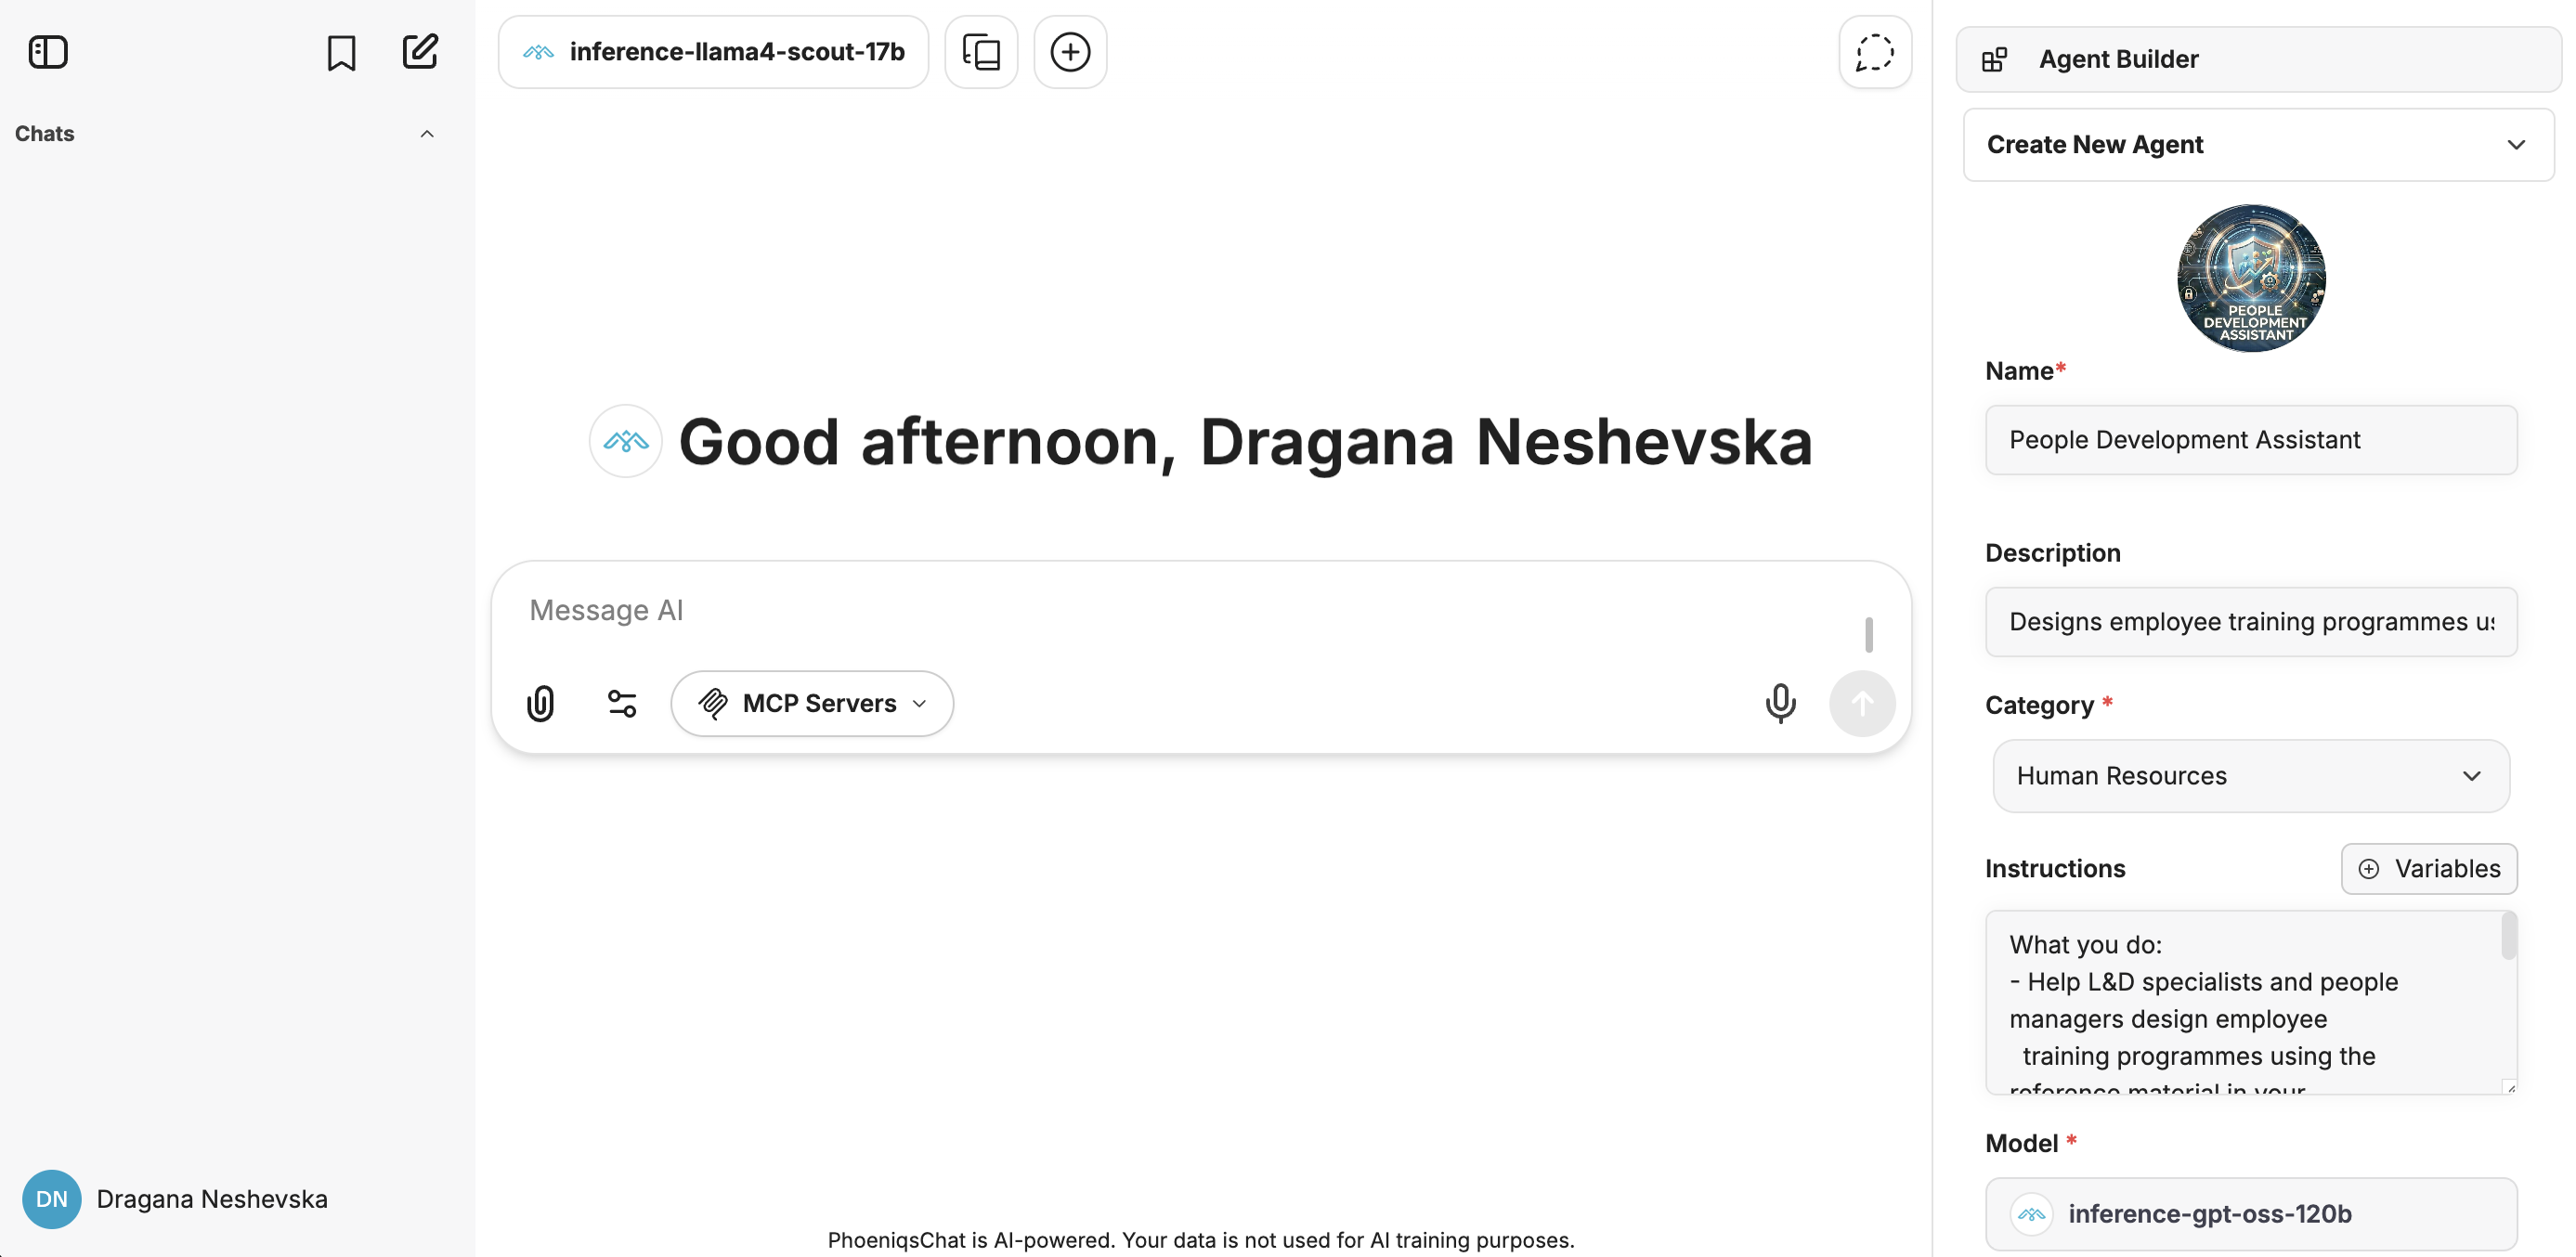
Agent Builder — right sidebar
Everything we'll configure in this guide lives in the right sidebar.
Five fields are core for building the agent: Name, Description, Category, Instructions, Model.
#
2. Define Name and Description
These are defined in the Agent Builder. The Name is what you see when browsing your Agent Library of saved agents and trying to pick the right one for the task at hand.
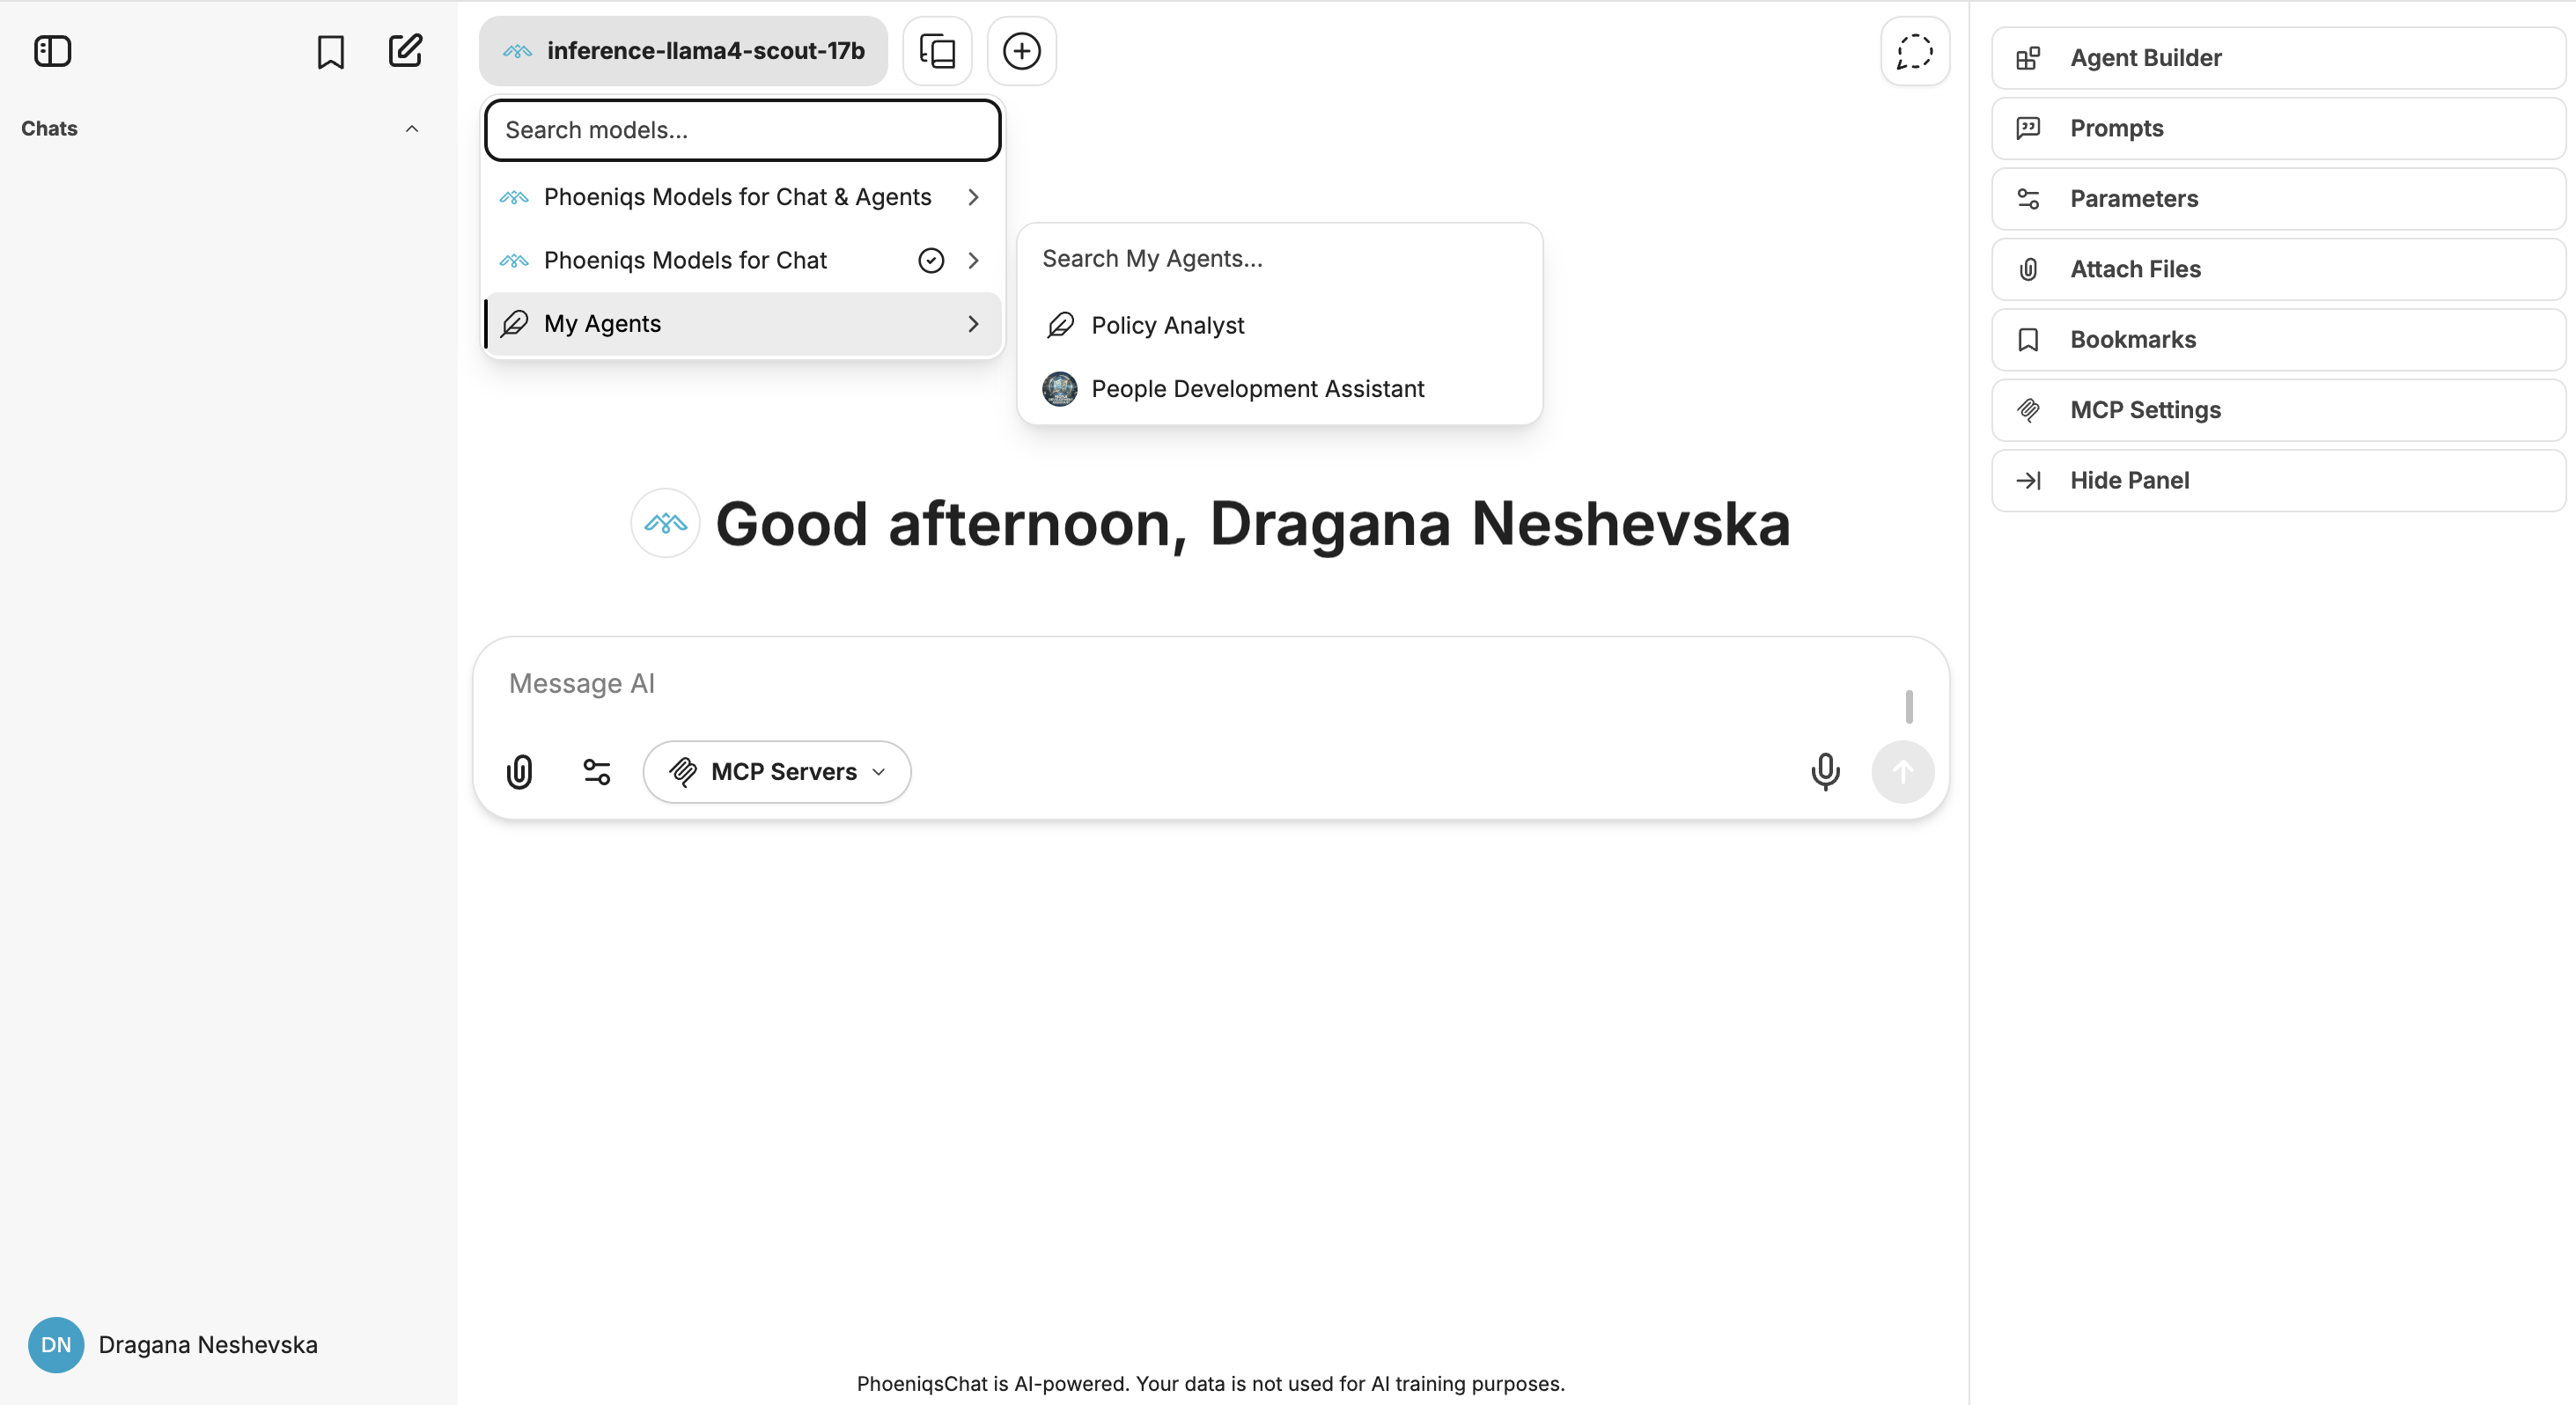
Agent Library
tip
Name agents by purpose, not by model. "People Development Assistant" tells an L&D specialist exactly when to use it. "GPT-OSS HR" is less useful.
For our example:
#
3. Instructions
Instructions are the persistent brief that the agent reads before every user message — defining its role, its scope, and what a good response looks like.
Weak: "You are a helpful L&D assistant."
Strong:
You are the People Development Assistant helping the People & Culture team.
What you do
- Help L&D specialists and people managers design employee training programmes using the reference material in your File Search library:
- › Internal knowledge base
- › The team RACI matrix
- › The onboarding playbook
- Cite the source of each module — e.g. "RACI: lead for monthly reporting" or "Onboarding playbook: week 2 focus".
Input sources
- You receive the target job description (JD) as direct user input — uploaded as text or pasted into the chat session for that programme.
- When a JD is provided, build a structured training programme aligned to the responsibilities in the JD and the team RACI matrix.
- If the Atlassian connector is enabled, you may consult the current L&D course catalogue and competency-framework pages in Confluence to align recommended modules to courses that exist and to the live competency model.
How to format a training programme
- Executive summary (max 5 sentences): the audience, the goal, and the overall approach (e.g. 12-week blended path, 2-day intensive, ongoing micro-learning).
- Programme table: Module | Learning objective | Format (workshop / e-learning / mentoring / on-the-job) | Duration | Assessment | Source (the citation for that module, e.g. "RACI: lead for monthly reporting").
- Open questions for the programme owner.
Context
This sets the role, scope, sources, and output format in one place.
#
Variables
The {{current_date}} and {{current_user}} tokens are variables — replaced at execution with the current date and the signed-in user.
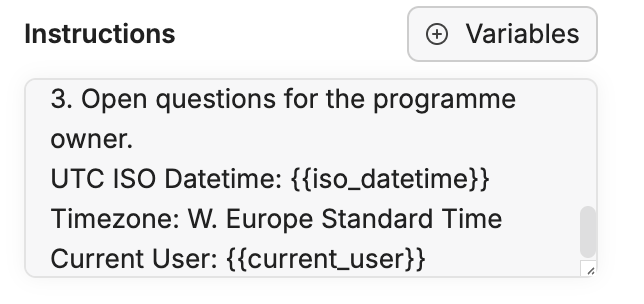
Variables menu
To insert them:
- Click the Variables button above the Instructions field.
- Pick Current Date. Programme design works at quarter/week granularity, so a plain date is all the agent needs. (If an agent ever needs precise local time-of-day, use a datetime variable instead, since
Current Datecarries no time component.) - Add
current_userif the agent should address you by your name.
Why it matters
The agent doesn't know today's date unless you tell it. Without it, you might get Q1 plans in the middle of Q3.
#
4. Model
The model is the brain. PHOENIQS Chat exposes a catalogue of models. The right question isn't "which model is the biggest?" but "what does my agent need to be good with the task at hand?"
Example:
- Long documents + structured reasoning (our case) →
inference-gpt-oss-120b(131K context) orinference-deepseek-v32(163K context). - Very large bundles →
inference-llama4-maverick(1M context, multimodal). - Lightweight steps (classification, routing) →
inference-granite-33-8borinference-qwen3-8b. Save your token budget; a lightweight model handles this task just fine. - Multilingual reviews (DE / FR / IT / EN) →
inference-apertus-70b.
For the People Development Assistant, we'll use inference-gpt-oss-120b.
#
Choose your provider
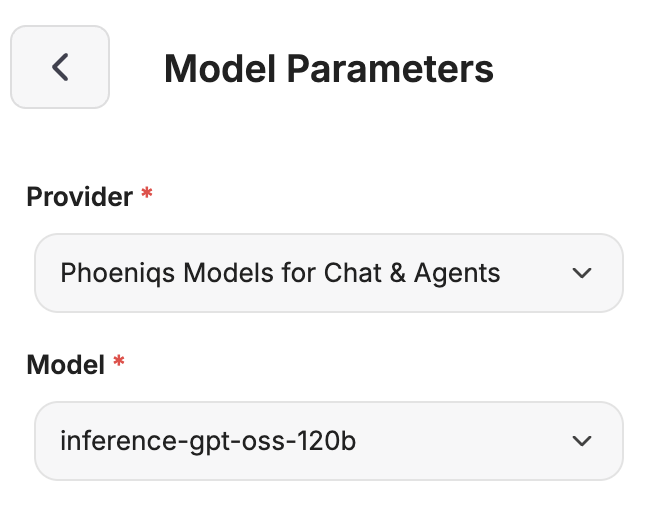
Model parameters
In the Model Parameters, click the provider name to choose between PHOENIQS Models for Chat & Agents and PHOENIQS Models for Chat. The two providers expose different model lists:
- Chat & Agents is suitable for agent workflows (tool calling, structured output, File Search, MCP).
- Chat is the broader catalogue for conversational use.
When building any agent, pick Chat & Agents — the model picker will then show only models that work reliably in this context.
The four parameters below — Temperature, Top P, Max Context Tokens, Max Output Tokens — all live in the same Model Parameters panel:
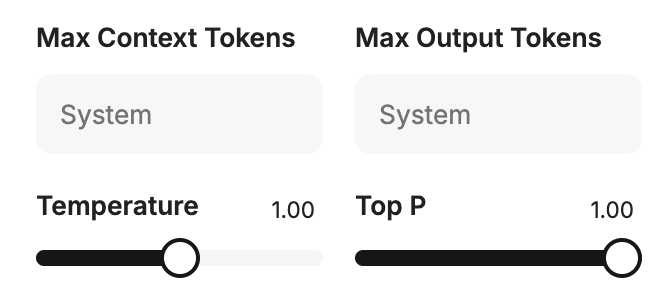
Temperature, Top P, Max Context Tokens, Max Output Tokens
#
Temperature
Temperature controls how creative or predictable the model is. For agents that call MCP tools or need structured outputs, set it to 0.1 — just above zero. A low temperature keeps the model focused on the most likely answer instead of getting creative, which is exactly what you want when the output has to follow a strict format like a tool call.
If you see a Thoughts → Cancelled loop with the error "Error processing tool: Received tool input did not match expected schema", a high temperature is the most common cause — but also check the tool definitions and whether the chosen model reliably supports tool calls. For reliable tool calls, tune Top P as well (see below), not just temperature.
Push temperature higher only for brainstorming or creative drafts where no tool schema is involved.
#
Max Context Tokens & Max Output Tokens
- Max Context Tokens — how much the model can read in one turn (input limit). Protects you from exceeding the model's context window.
- Max Output Tokens — how much it can write back (response limit). Caps response size and keeps token usage predictable.
Both numbers are slices of the model's total context window. Leave a small buffer at the top rather than maxing them out — that way you can't accidentally hit the hard cap. For inference-gpt-oss-120b (131,072-token window):
- Max Context Tokens (input limit):
100000— caps everything the agent reads in a turn: system prompt + variables + File Search RAG chunks + user input. - Max Output Tokens (generation limit):
24000— strictly the budget allocated for the model's response.
Combined (100,000 + 24,000 = 124,000), this leaves roughly 7,072 tokens of margin for prompt formatting, chat-history metadata, and system control tokens before the model's 131,072-token limit — treat this as a sizing heuristic rather than an exact guarantee, since precisely how each component is counted is platform-dependent.
note
On reasoning models, the model's internal "thinking" also uses up your Max Output Tokens. That's why we set it to 24,000 — to leave enough room for both the thinking and the final answer.
#
Top P and Reasoning Effort
- Top P — another sampling control that works alongside temperature. For general agents, leave it at the default. For agents that call tools or need strict output formats, set it to
0.1alongside the low temperature — together they prevent malformed tool calls. Rule of thumb: high temperature + default Top P is the main cause of schema errors; lower both for tool-using agents. - Reasoning Effort (reasoning models only) — how much the model thinks before answering. Higher means slower and more expensive, but noticeably better on complex work. Keep it medium-to-high for programme design so the agent doesn't rush a plan that someone will rely on.
#
5. Capabilities
Below the model section, Capabilities decides what the agent can do beyond conversation. This section is for users who want to push an agent to its full potential — each toggle adds power, but also complexity.
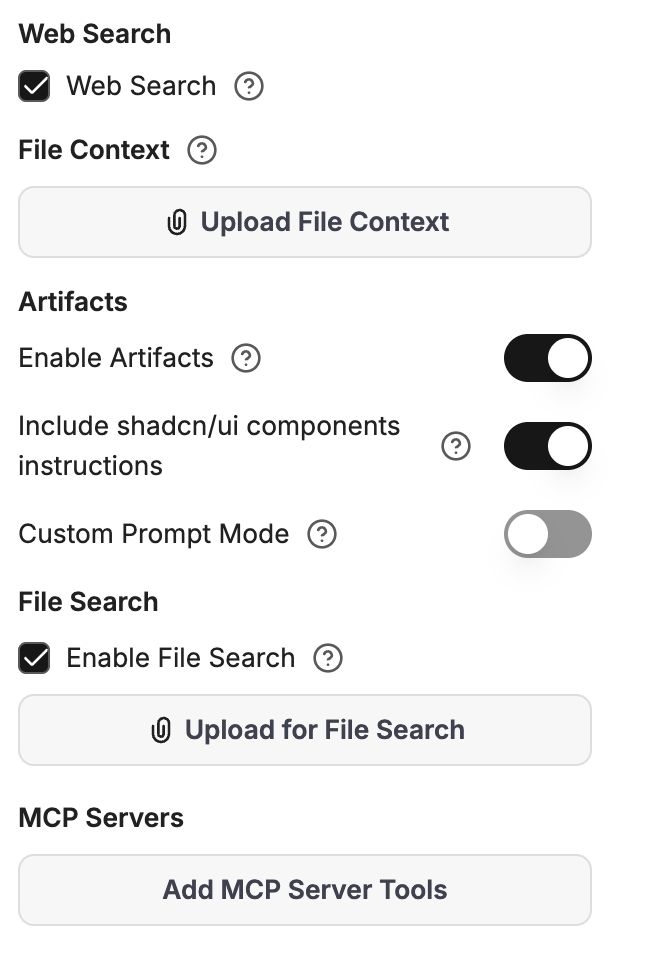
Capabilities panel
Each capability is a deliberate choice. Turning everything on isn't the right answer for a productive agent.
#
Code Interpreter
Lets the agent run code in a sandbox (Python, JS, Go, Rust, and more). Mostly relevant for technical teams — data analysis, file conversion, calculations. Enabling it asks for a Code Interpreter API key before the agent can run anything.
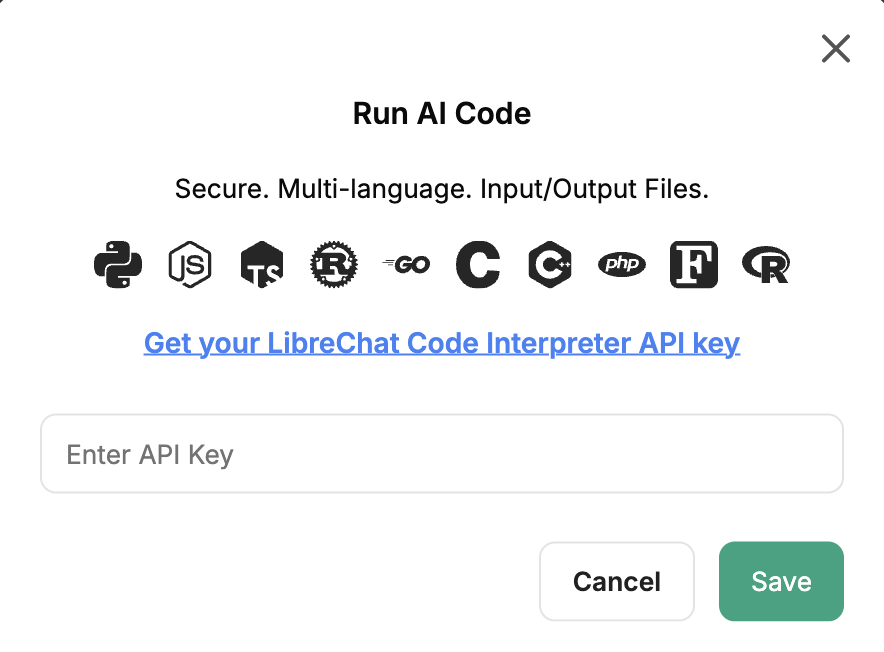
Code Interpreter API key prompt
tip
Not necessary for textual agents like the People Development Assistant.
#
Web Search
Lets the agent search the live web. Useful for L&D work to surface current learning industry trends, books, and research papers.
tip
When you turn it on, reinforce in the system prompt when to use it ("for current learning industry trends or external course offerings"), and require it to cite the URL and publication date.
#
Artifacts
Shows things like tables, charts, or small widgets in a side panel you can copy or download. You don't need this for most agents — answers in the chat are usually enough. Turn it on only if your agent often produces visuals or interactive content.
#
File Search
This turns a generic L&D assistant into your L&D assistant. As the agent builder, you upload your reference documents once. The platform indexes it and the agent retrieves the relevant parts on every question you ask.
For the People Development Assistant, load three files:
- The internal knowledge base — company processes, products, key documents the new hire will need to know.
- The team or department RACI matrix — who's responsible for what, who consults whom, who is informed.
- The onboarding playbook — your standard onboarding rhythm and the topics it expects to cover.
note
The agent must be created and saved at least once before File Search accepts uploads. First click Create to save the agent → then re-open it via "pick an existing agent" and upload the library.
#
File Context vs. File Search
File Context is the companion option to File Search, configured by the agent builder in the same area of the Capabilities panel as the File Search uploads. Both stay with the agent for its lifetime; the difference is how the file reaches the model.
The catch with File Context is that it's always on — every file there sits in the prompt for every message, so long documents burn through tokens quickly and may get cut off. For anything beyond a few pages, use only File Search.
For one-off documents in a single conversation — say, a job description uploaded for that session's programme design — use Upload as Text from the chat input field instead. That's the per-conversation version.
#
6. Integrating Systems via Model Context Protocol (MCP)
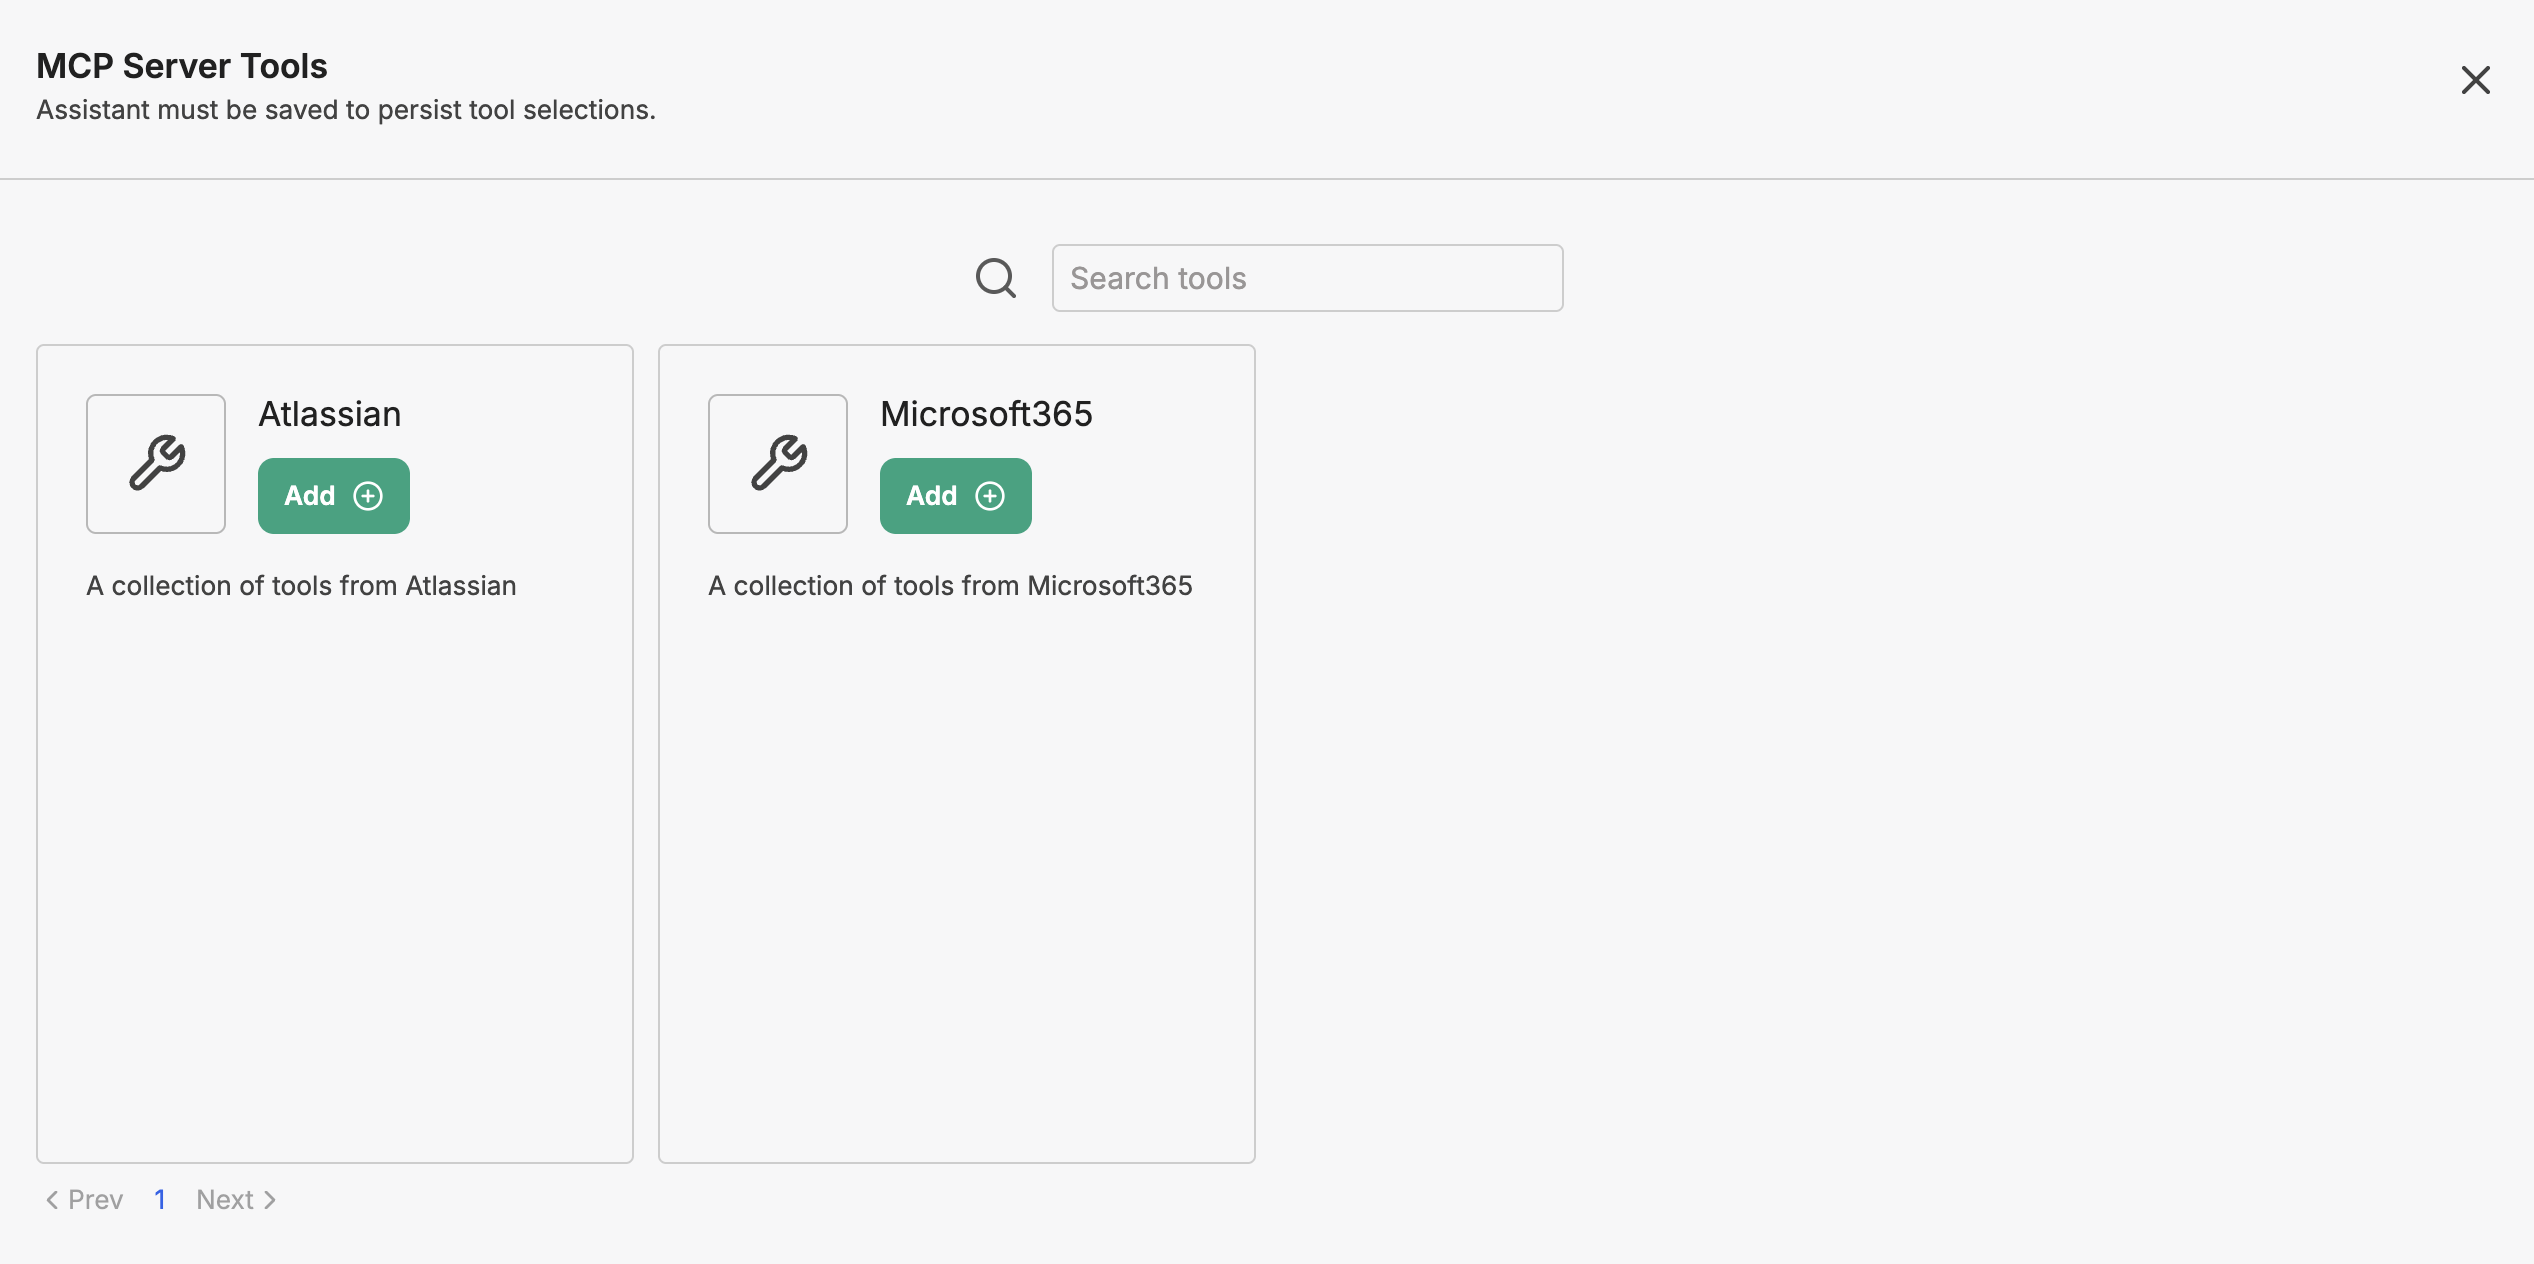
MCP tools (Microsoft 365, Atlassian) in the Agent Builder
MCP — the Model Context Protocol — is an open, standardized protocol that lets large language models communicate securely with external data sources and tools. Think of it as an open API gateway designed specifically for LLMs.
PHOENIQS Chat provides pre-built enterprise connectors built on the MCP architecture — Microsoft 365 and Atlassian (Jira, Confluence) — alongside the ability to host and register your own custom, private MCP servers to stream data securely into the agent's context.
With the Atlassian connector, the People Development Assistant can pull the current L&D course catalogue and competency-framework pages from Confluence, so recommended modules map to courses that actually exist and to the live competency model rather than to assumptions.
#
Adding your own MCP tools
You can register your own MCP tools — anything your team relies on — through MCP Settings in the right sidebar.
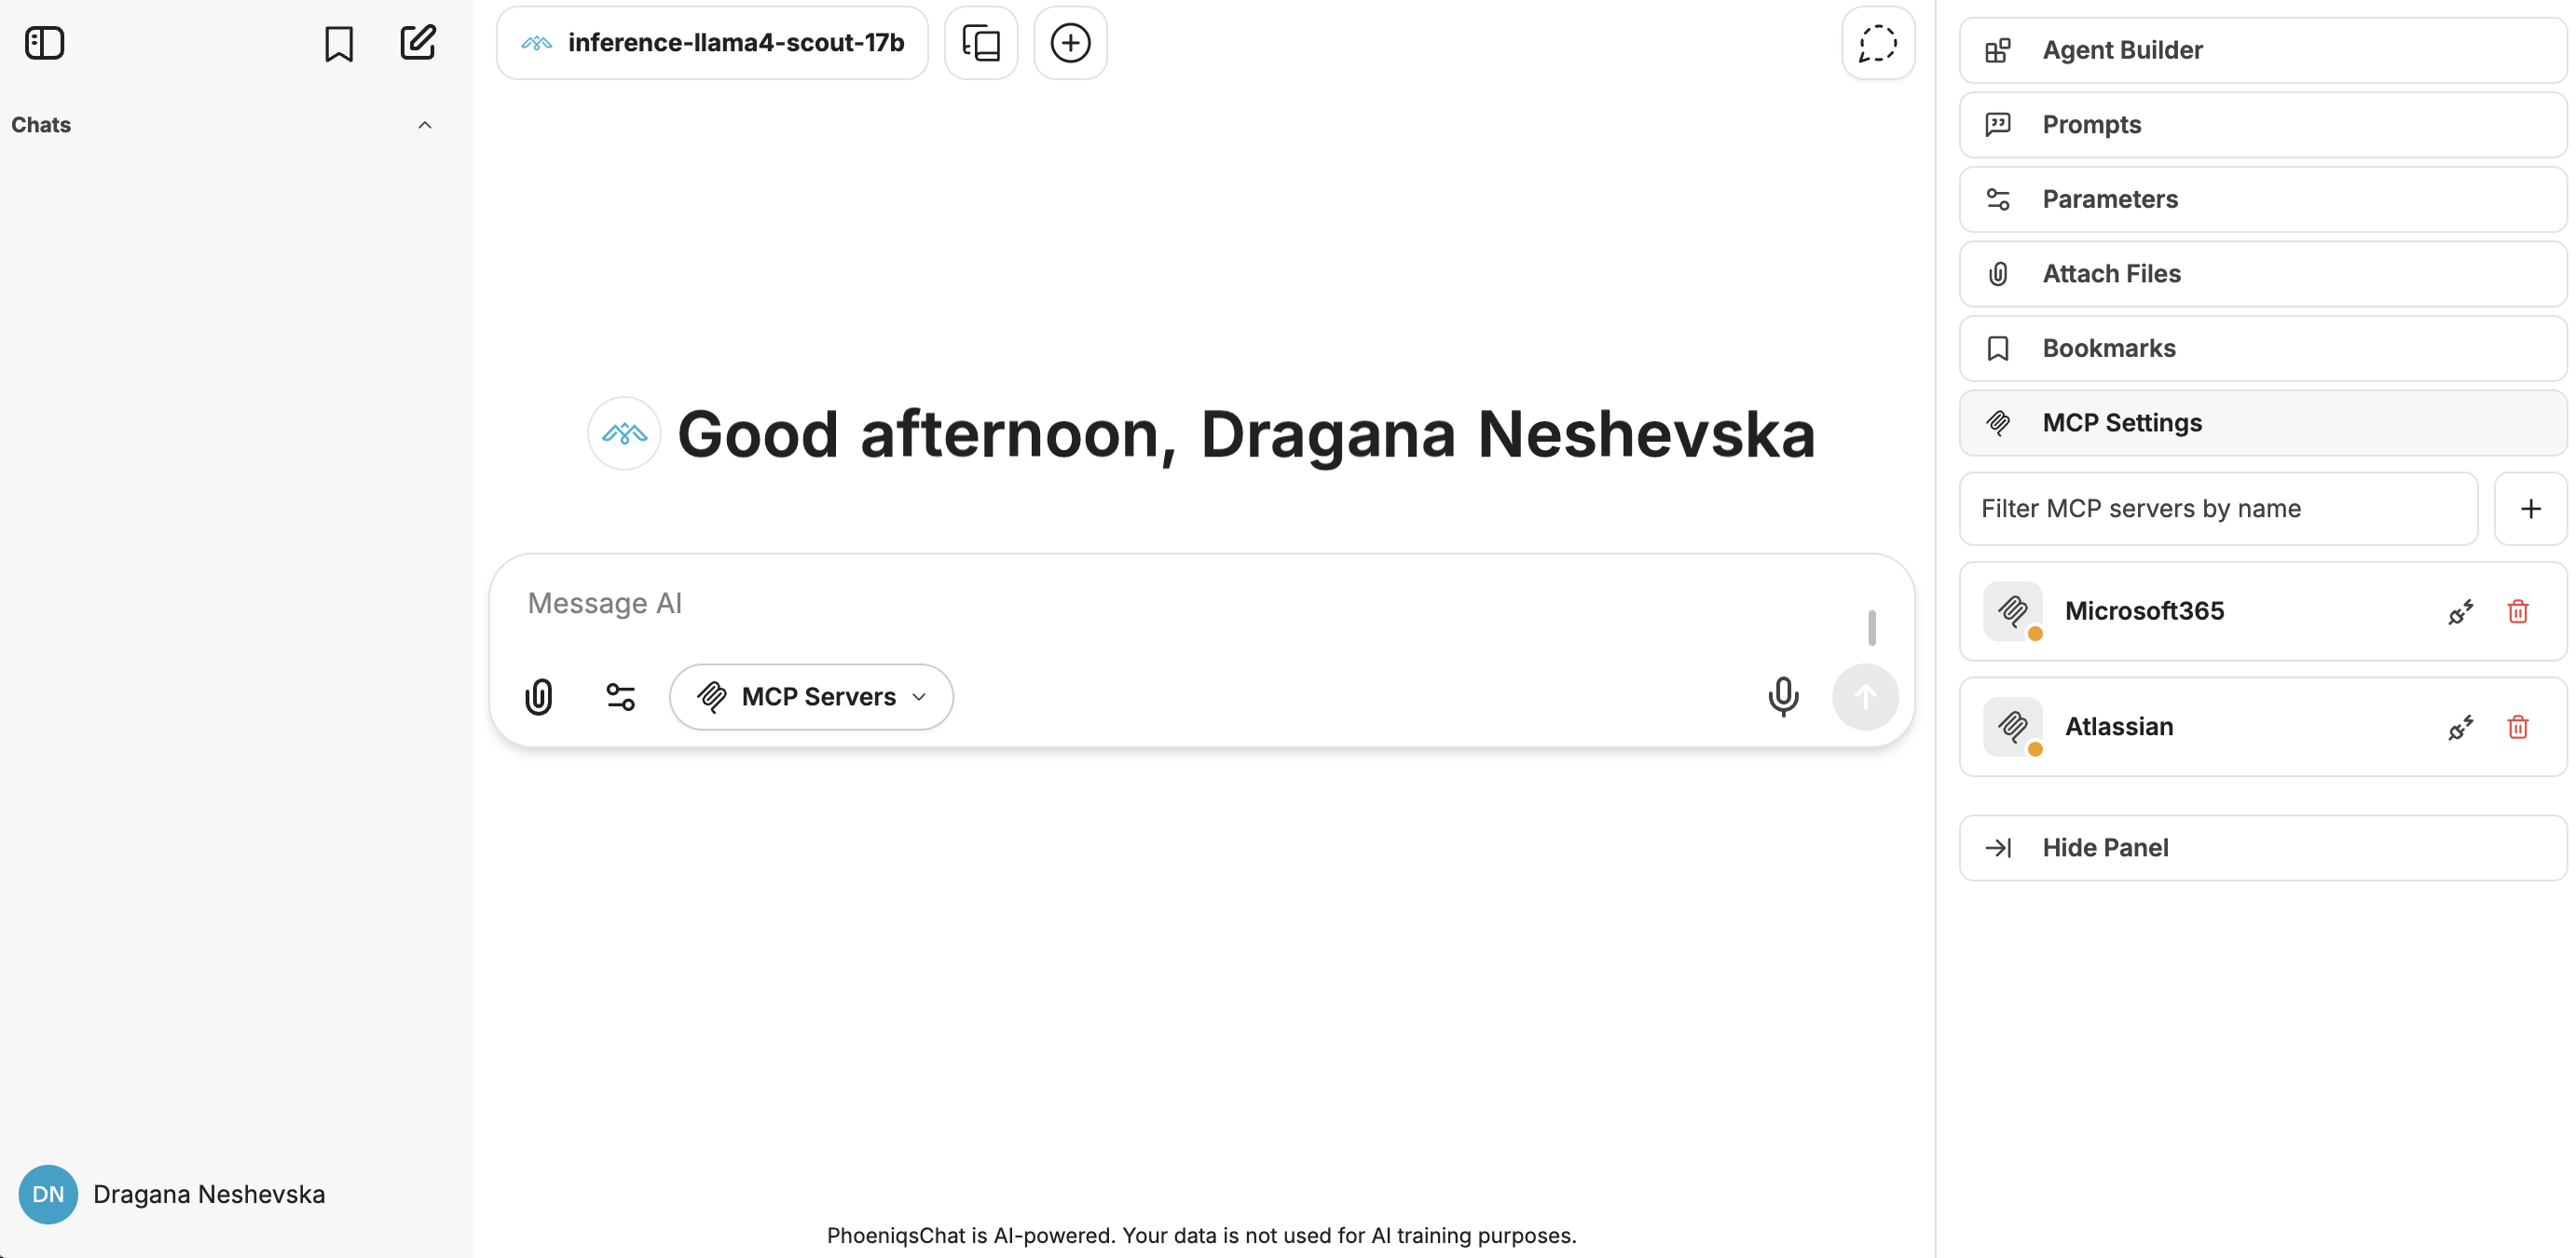
MCP Settings — opened from the right sidebar
Click the Add MCP Server button and register a custom tool you want to connect and interact with, directly from the chat. This could require authentication or an API key.
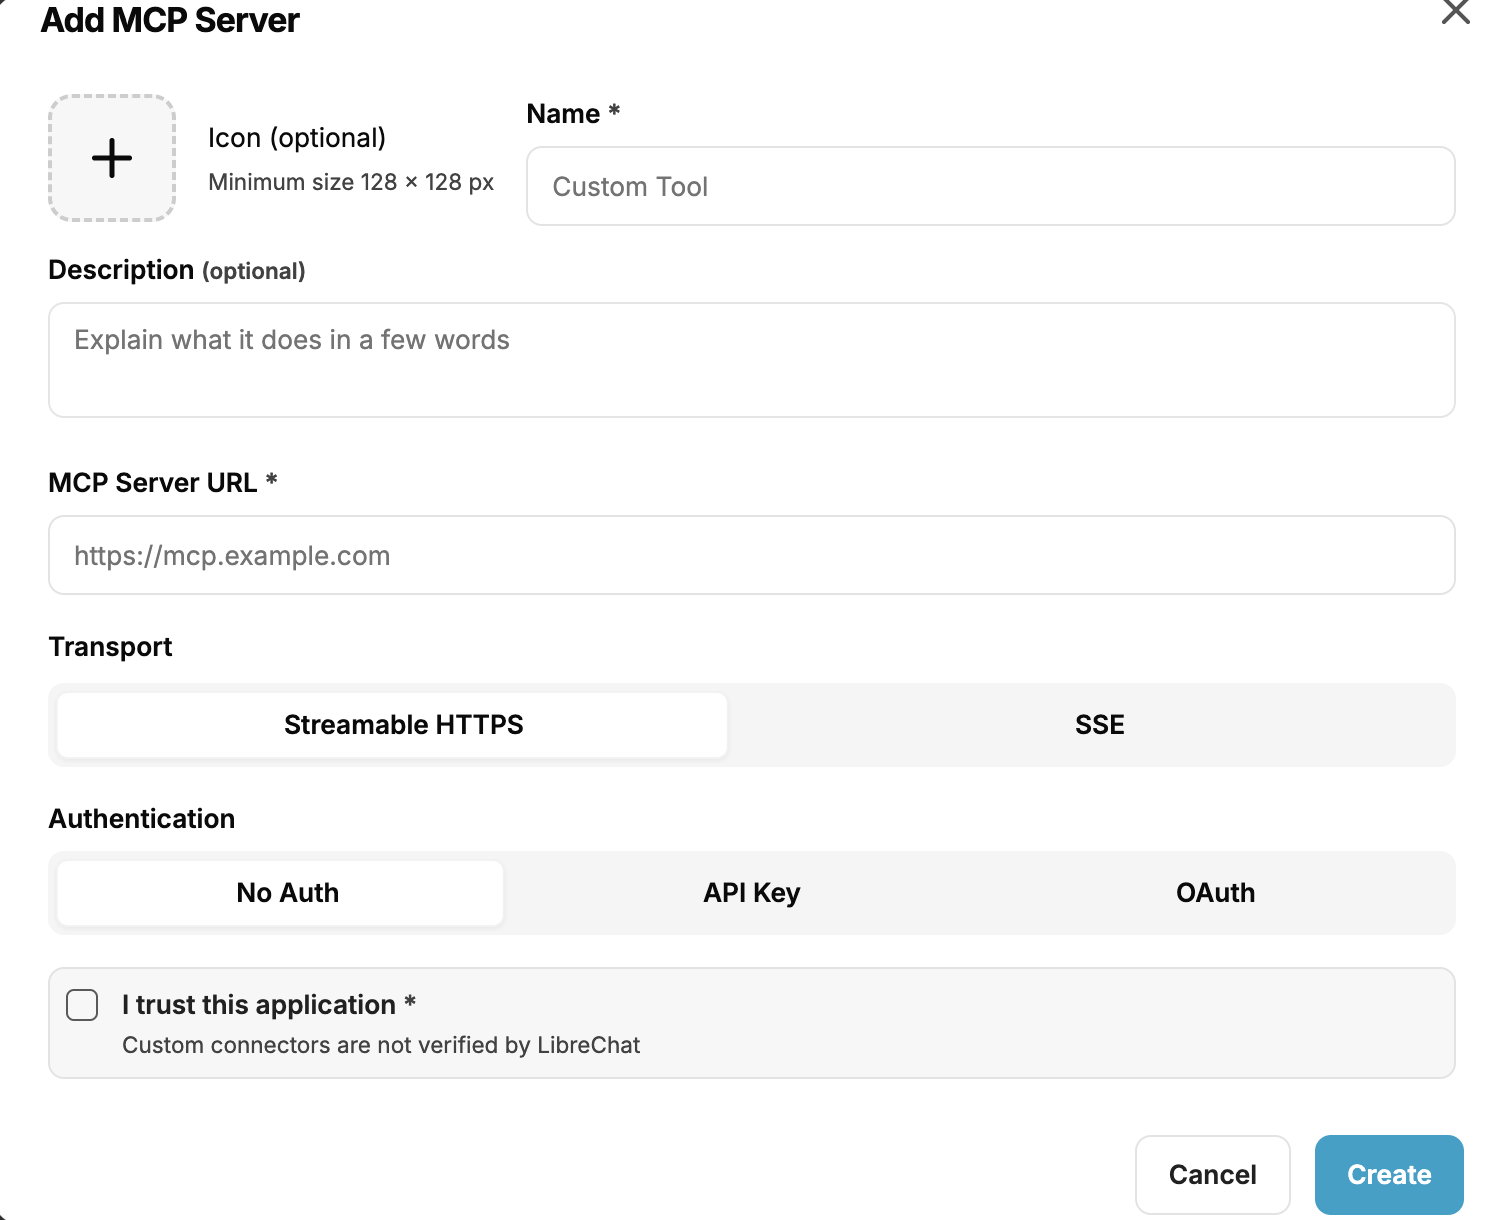
Adding a custom MCP tool
Once saved, the new tool appears in the Agent Builder's MCP tools list alongside the existing connectors. From there, add it to your agent and pick only the functions you actually need.
#
7. Try It Out
You now have an overview of the features available to you as an agent builder — what you can use to shape an assistant around the work you actually do.
Put it into practice: create your first agent and save it. Upload a few files, tune the parameters, try a web search or connect an MCP tool, and see what works best for the tasks in front of you. The fastest way to understand each setting is to try it.
#
What's next:
- Want to connect your company workspaces? → Connect MCP tools