
#
Agents: Best Practices
#
Set the right parameters for the LLM
#
1. Open the Agents section
- Click the Agents icon in the left‑hand navigation bar.
- Choose “Create New Agent” or pick an existing agent and click Edit.
#
2. Open the Model section
- Navigate to the Model section.
- Click on the model name
Model
#
Temperature
The Temperature controls how random or creative (for high values) or deterministic (for lower values) the generated tokens are. The MCP tools calls need to follow a precise schema and benefit from a lower temperature( ≤ 0.2).
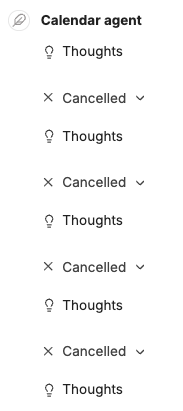
Note: if the temperature is too high, very often the flow will be a succession of Thougths - Cancelled loops. The details (click on the down arrow right of Cancelled show in the Result: Error processing tool: Received tool input did not match expected schema
#
Max Context Tokens and Max Output Tokens
The max context tokens option tells the model how many input tokens it may read, protecting you from exceeding the model’s context window. The max output tokens option caps the length of the model’s reply, letting you control response size and avoid unexpectedly large token charges. The sum of both should not be bigger than the model context window. See
for the model list. For example, for inference-gpt-oss, the Max Context Tokens can be set to 128000 and the Max Output tokens to 8192.
#
Give the current date and time to the agent
Providing the current date and time gives the AI temporal context, allowing it to turn vague expressions such as “tomorrow” into exact dates, reference current events, and adapt suggestions to the time of day, which makes responses feel more natural and relevant. Including this timestamp also prevents outdated or ambiguous answers and reduces the need for follow‑up clarification, thereby improving overall user experience.
#
1. Open the Agents section
- Click the Agents icon in the left‑hand navigation bar.
- Choose “Create New Agent” or pick an existing agent and click Edit.
#
2. Add the variables in the instructions
- Navigate to the Instrutions section of the agent definition.
- Press on the Variables button
- Select the desired ones. We recommand the UTC ISO Datetime (to resolve any query with an international background) and to add manually the timezone
Timezone: W. Europe Standard Time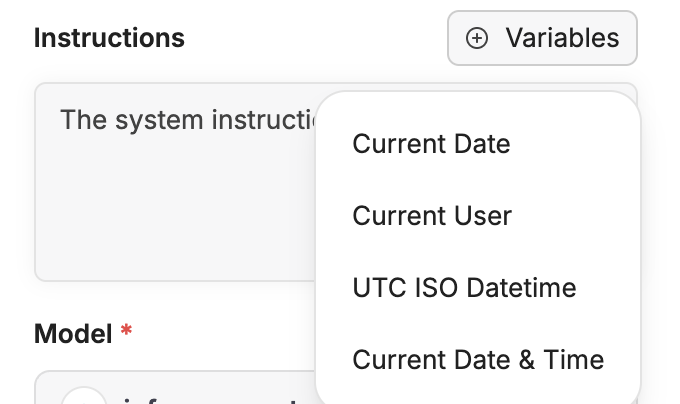
Agent Variables - The variables are now part of the instructions and will be replaced at runtime. `
#
Using the Minimal Number of MCP Tools
Select only the MCP tools you actually need to keep Phoeniqs Chat clear and responsive. Each MCP server can expose dozens of functions, which would otherwise fill the chat dropdown and make it harder to find the right tool. By adding the server once and then disabling any unnecessary functions in the agent’s tool list, you reduce visual clutter, lower the risk of accidentally invoking the wrong tool, and improve overall response speed. For typical everyday tasks—such as web search, file lookup, or calculations—one or two carefully chosen MCP tools are sufficient; the rest can stay disabled until a specific workflow calls for them. Note that this is in contrast with the pure chat where the mcp server can only be selected as a whole.
#
Adding an MCP Server to an Agent & Selecting Only the Tools You Need
The process is done entirely through the LibreChat web UI, so no coding is required. Follow the steps below; each action is highlighted with the reason why it matters for a smooth, clutter‑free experience.
#
1. Go to the Agents section
- Click the Agents icon in the left‑hand navigation bar.
- Choose “Create New Agent” or pick an existing agent and click Edit.
#
2. Add an MCP Server
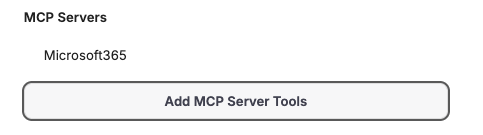
- In the dialog, scroll to the MCP Servers section.

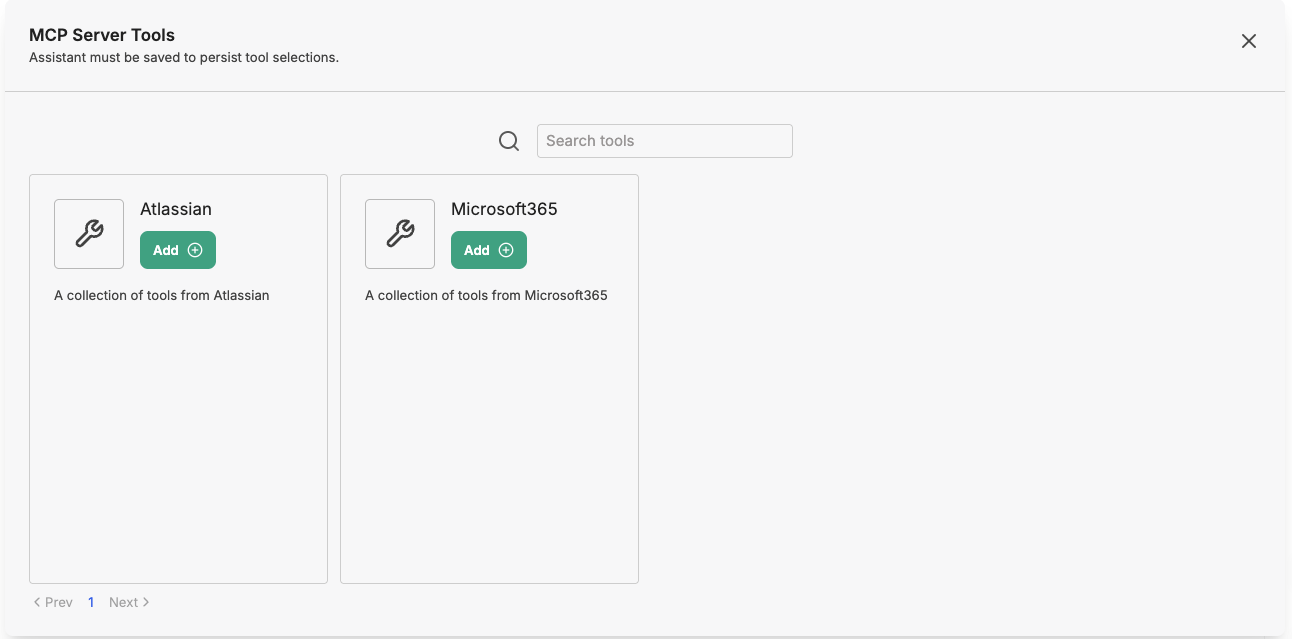
Add MCP Server Tools - Click on Add MCP Server Tools
- Click the Add button next to the server you want to add. Depending on the server, you can be prompted for the credentials to use it.
If the server is not yet listed, you can first register it in MCP Settings in the right-most panel.
Select MCP - The server now appears as a single entry in the MCP servers list (even if it hosts dozens of functions).
MCP Server Added
#
3. Choose the Individual Tools You Actually Need
- Expand the newly added MCP server entry by clicking the ▼ arrow right of the mcp server name. Hover with the mouse on the name of the server if it is not visible.
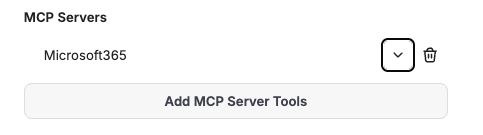
Expand MCP Server - You will see a checklist of all the tools the server provides (e.g., Web Search, File Browser, Calculator, etc.).
- Check the boxes for the tools you want to enable and leave unchecked the rest. There is a select all/deselect all checkbox near the mcp server name.
#
4. Save the Agent
- After selecting the desired tools, click “Save” at the bottom of the dialog.